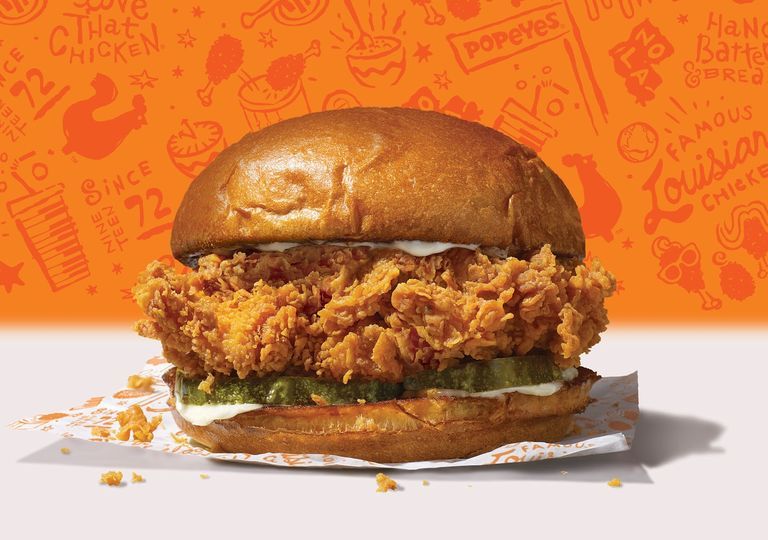
The creation of a fried chicken sandwich from Popeyes has caused fried chicken lovers across the United States to lose their damn minds. The hype over this sandwich has caused people to pull out guns upon learning their local restaurant has sold out of the sandwich; because of the different partners and suppliers used in this country, Canada won't see this sandwich anytime soon. So what's a hungry Canadian supposed to do in the meantime? One could wait until the sandwich makes its way up here, or they could go across the border and hope for the best, but I propose that people save time and money by making the sandwich with the recipe below. It may not be the real thing, but you can make it Louisiana fast and enjoy it until Popeyes gets its act together. Ingredients:
4 hamburger buns or medium-sized brioche buns
2 boneless skinless chicken breasts
720-960 mL canola oil for frying
240 mL buttermilk
5 g each paprika, garlic powder, black pepper, salt
240 g flour
120 g corn starch
15 g each paprika, garlic powder, onion powder, cayenne pepper
5 g each salt, pepper
120 g mayonaisse
5 g hot sauce
5 g paprika or cajun or taco seasoning
2.5 g garlic powder
Sliced pickles
Pound the chicken breasts in between two pieces of parchment paper or plastic wrap. Cut each chicken breast in half crosswise to make 2 small pieces of chicken about the same size as the bun.
In a large bowl, mix together the buttermilk and the 5-gram portions of the paprika, garlic powder, salt, and black pepper. Add the chicken to the mix and place in the fridge to marinate up to 24 hours or use right away.
In a medium shallow bowl, whisk the flour, cornstarch, and the 15-gram portions of the paprika, garlic powder, onion powder, and cayenne pepper (if you want it spicy) together. Drizzle 2-3 tablespoons of the buttermilk batter into the flour mixture and mix it through with a fork.
Heat oil in a large heavy-duty skillet or pot on medium temperature or until the temperature reaches 176°C. Working with a piece at a time, dredge the chicken in the flour mixture and press some of the flour on the top of the chicken breast to form a thick crust. Transfer the chicken to hot oil and fry for 3-5 minutes per side or until the outside is crispy and golden and the internal temperature reaches 75°C.
Melt some butter in a large saucepan and toast the buns face down until golden and crisp. In a small bowl whisk the mayonnaise, the hot sauce, and the remaining spices together and spread a generous layer of the spicy mayo on each bun. Add the chicken and the pickles and serve immediately.
Note: Popeyes might disagree, but I like to add some bacon and some shredded lettuce when I feel like a fried chicken sandwich.
Back in December, I went to a workshop on how to make kombucha, a popular probiotic fermented sparkling tea. I recently made a batch, following the instructions I received that evening. If you want to try your hand, you can use the recipe I've posted below, once you acquire the essential symbiotic culture of yeast and bacteria (or scoby) by finding out when the next workshop is, contacting your favourite kombucha producer and asking for a scoby baby and some starter liquid, or ordering one online.
Ingredients:
4 black or green tea bags or 15 g loose leaf tea
1 scoby and some starter liquid
830 mL water
80 g sugar
chopped fruit, herbs and/or spices for flavouring (optional)
Boil the water, and pour it into a suitable mixing vessel like a larger Mason jar. Add the teabags and allow the mixture to steep for 4-6 minutes.
Pour in the sugar to the warm tea, and stir until the sugar has dissolved. When the mixture has cooled, add the scoby and its starter liquid.
Cover the top of the jar with either a piece of cheesecloth or a paper towel, and secure the covering with a rubber band. Place the jar somewhere away from sunlight at room temperature for 7-14 days to allow the kombucha to ferment. Do a taste test on your batch after the seventh day to see if it's to your liking.
When you are happy with your results, you will notice a new layer of scoby has formed. Remove it and about 235 mL of kombucha, and place it in a separate container - you now have a scoby with some starter liquid to use for another batch. Pour the remaining kombucha into glass bottles and seal, leaving a bit of space at the top. If you want, you can add some chopped fruit and some herbs and spices for flavouring before you seal the bottles. Allow the kombucha to sit and self-carbonate at room temperature for 3-5 days, then store it in the fridge. Drink your kombucha within two months.
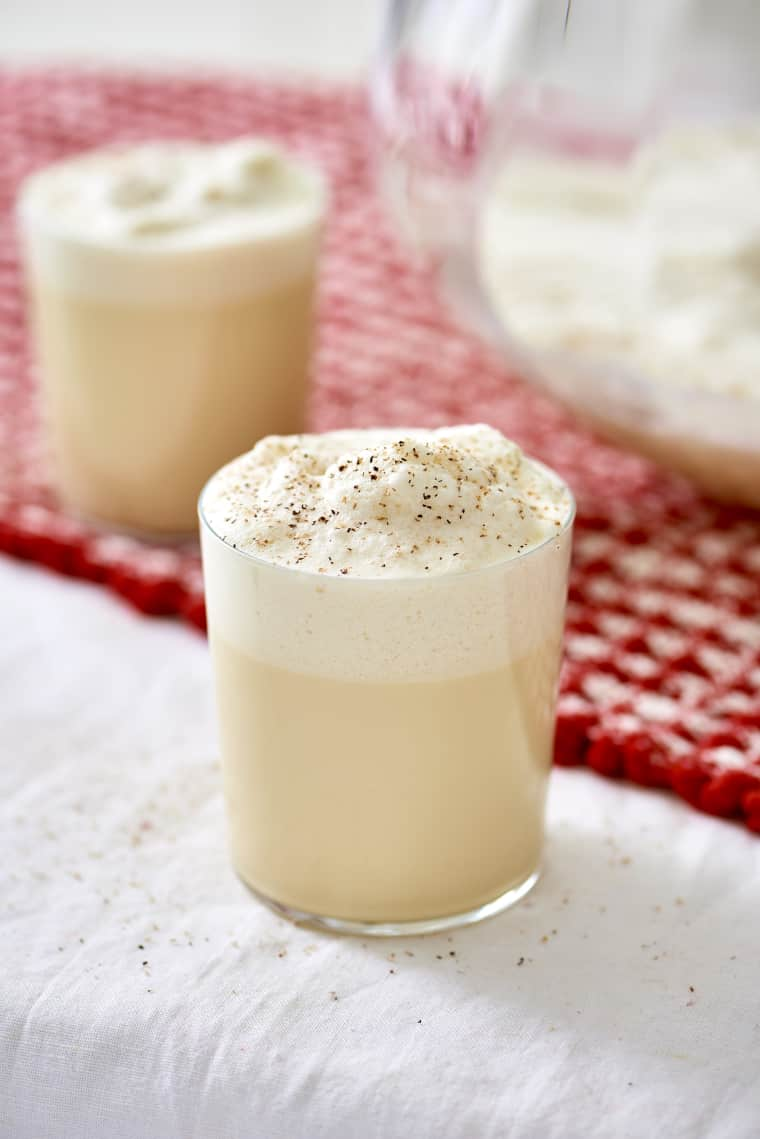
With the exception of Quark's nephew on "Star Trek: Deep Space Nine", egg is my favourite type of nog. Popular during the winter holiday season, eggnog originated from an early medieval British drink called posset that was made with hot milk that was curdled with wine or ale and flavoured with spices. As the popularity of the drink spread, the spirits used in the drink changed depending on the availability, which is why rum and bourbon were included in recipes popular during the American Revolutionary War. While eggnog is readily available in the dairy section of your supermarket, for the days that's it's not in season, it's easy to make the drink yourself. However, take caution as it is a food that contains raw eggs (a health risk for people with weakened immune systems or who are pregnant) and alcohol (no need to overdo it with - don't drink and drive).
Merry Christmas and happy holidays to all.
Ingredients:
6 large eggs
950 mL whole milk
60 g sugar
5 mL vanilla extract
dash of ground nutmeg
Wash and check your egg for any cracks or blemishes - if it seems suspect, throw it away, and find a better egg. Crack the eggs into a medium saucepan. Beat with the sugar until the colour of the egg lightens.
Add half of the milk and cook over low heat while stirring constantly. When the mixture (now basically a simple custard) starts to thicken up a bit and is able to coat the back of a spoon, remove from the heat.
Allow the mixture to sit for about 5 minutes. The mixture should be around 71.1°C and the resting period will help give time to kill off a lot of the unwanted bacteria (but not all because of the relatively low heat and short waiting time, five minutes isn't long enough for the temperature to drop low enough for the bacteria to find the conditions favorable for reproduction).
Add the remaining milk to the mixture and stir in the vanilla extract and nutmeg. Chill in the refrigerator for at least four hours. Serve cold within 24 hours.
With rib festivals happening numerous times throughout the year over the city, Ottawa's love for grilled meat has been well established. In honour of the Orleans Ribfest, I decided to try making some pork ribs using the cardboard smoker box method popularized by the cooking world's mad scientist Alton Brown.
Build Materials:
cardboard box (big enough to hold a BBQ grill in, but not so big it will take forever to heat up, something under a metre high and at least 60 cm.wide)
2 wooden dowels
BBQ grill
aluminum foil
aluminum pie pan
hot plate
old frying pan
wood chips
probe style cooking thermometer
small fan (optional)
I lined as much of the inside of the box with aluminium foil as a safety precaution.
I then cut a hole in the bottom of the box as shown below, in order to make access the wood chips easier during cooking.
Because the food needs a place to be cooked on, I inserted the wooden dowels through the box and placed the grills from my propane BBQ on top.
When it was time to start cooking, I hauled everything up from the basement, and set it up outside, placing the hot plate in the centre of the box through the hole in the bottom. I soaked the wood chips as instructed on its packaging, and then filled the frying pan with the wood chips. Placing the frying pan on the hot plate, I topped it with a pie plate with holes poked through the bottom, allowing the smoke to fill the box while protecting the burner from any juices that drip from the meat. I then plugged the hot plate into an outlet and turned it on. If you have a small fan, you place it in a corner of the box away from the hot plate so it can circulate the hot air and the smoke throughout the box, but don't be surprised if the fan runs out of power, or shuts down during the cooking process as mine did.
45 g kosher salt
30 g chile powder
30 g light brown sugar
30 g garlic salt
30 g paprika
20 g dried thyme
20 g ground cumin
20 g celery seed
10 g black pepper (freshly ground if possible)
Mix all the ingredients together in a bowl. Season the ribs with rub you created.
I placed the ribs on the grill bone side down, and then closed the box up to allow it fill with smoke. I had to be careful as the box got warm to the touch quickly About every half-hour or so, or whenever I saw less smoke coming out of the box, I carefully checked on the wood chips in the frying pan, dumping out the burnt up wood in a fireproof container, and adding more wood chips, and adjusting the temperature control on the hot plate as needed.
YOU ARE DEALING WITH FLAMMABLE OBJECTS ENCASED IN A FLAMMABLE OBJECT - DO NOT LEAVE THE SMOKER BOX UNATTENDED! Knowing the ribs will take at least 4-5 hours to cook, I did some yard work in the backyard, then enjoyed a few of my favourite IPAs while watching the pilot episodes of "The Defenders" and "G.L.O.W." (I liked the former more than the latter) and some "Lucha Underground" on Netflix while watching the ribs cook. Every hour or so I flipped the ribs to make sure they were evenly cooked, and sprayed them with the following liquid to keep them moist:
Ingredients: Mop / Spray Bottle liquid
240 mL apple juice
120 mL apple cider vinegar
30 mL Worcestershire sauce
Combine the ingredients in either a spray bottle or a bowl if you prefer using a BBQ mop.
After several hours of smoking, I finished the ribs on my BBQ so my hungry family could get their dinner. The ribs tasted great, tender and flavourful, I was surprised by how much smokiness I got on the meat. I may not win any grilling competitions with this method, but it's not bad for something you can make with stuff you may already have lying around your house, and it's something to try in between ribfests while drinking beer in the great outdoors.
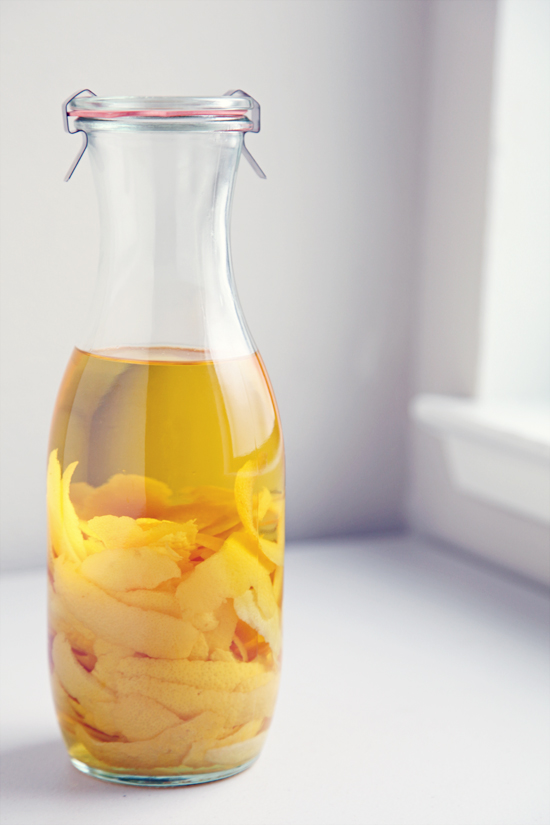
Just because everyone's favourite Hallmark holiday is several weeks away doesn't mean it's not a good time to think about what you should give dear old Mom as a present. And what would be better for the woman who fed you, and put up with so much of your crap, than a homemade lemon liqueur popularized in Italy over a century ago. Traditionally made from the zest of lemons, it is steeped in grain alcohol until the lemon oil is released. The resulting yellow liquid is then mixed with a simple syrup. Served chilled as an after-dinner digestivo, it`s perfect for sipping after the dinner you made or took your mom out to, or for when you and mommy are sitting around shooting the breeze on a warm day.
20 lemons
1.75 L Everclear or 100-proof vodka
sugar
water
Wash and peel the lemons with a sharp paring knife to remove all the white pith from the inside of the peel (it gives the limoncello a bitter taste), or a microplane to remove the zest from the lemons. Put the skins or the zest in a clean glass or plastic container large enough to hold at least 2.5 litres.
Add the alcohol and seal the container. Wrap it in plastic and then in aluminum foil (to shield it from the light), and let it sit in a cool place in the back of the cupboard or in the basement for 2 to 4 weeks (the longer, the better). Shaking the container at various times isn't necessary, but it won't hurt.
After the infused alcohol has sat for a period, make a simple syrup by combining 475 mL water with 400 g sugar in a saucepan. Bring the mixture to a boil, stirring frequently, for 2 to 3 minutes. Let the syrup cool completely by placing the pan in an ice bath.
Strain the peels out of your alcohol mixture (you will have to do multiple strainings if you used lemon zest) and stir in the simple syrup. Divide your limoncello into bottles, seal, and let them sit for 7 to 10 days to let the syrup marry with the lemon-infused alcohol.
Store your homemade after-dinner drink in the freezer, and serve in pre-chilled glasses or small ceramic cups.
Greetings and salutations everyone. Hope your 2016 ended well, and that your 2017 has started right.
This year is the 150th anniversary of Confederation, and with these cold winter nights and Winterlude ahead of us, a great way to kick off the celebrations is with a hot toddy flavoured with Fireball Cinnamon Whisky. While most people have done shots of this cinnamon-flavoured liqueur, few know about its Canadian origins. Originally part of Seagram's line of flavored schnapps in the mid-1980s, it was called Dr. McGillicuddy’s Fireball Cinnamon Whisky, and was only made in Canada. As the schnapps fad started to fade, Seagram's sold off its entire McGillicuddy portfolio to the Sazerac Company, who decided to spin the cinnamon whiskey off from the others in 2007 and marketed it to college party towns, making it the hit that it is today. With the stores already filled with cinnamon hearts for Valentine's Day for sale, it's worth it for Fireball fans to give the recipe for this homemade version a try:
Ingredients
750 mL whiskey (the cheaper the better)
220 g cinnamon hearts (or some other hard cinnamon-flavoured candy)
Pour the whiskey into a suitably sized resealable container. Add the cinnamon candy, seal well and give the whole thing a good shake.
Let the mixture sit overnight to allow the candies dissolve and infuse the liquor. Strain out any remaining candy and rebottle.
Ingredients - Cinnamon Hot Toddy
1 shot whiskey
60 mL boiling water
5 mL honey
3 whole cloves
2.5 g ground nutmeg
1 cinnamon stick
Pour the honey, boiling water, and the cinnamon whiskey into a mug. Spice it with the cloves and cinnamon.
Let the mixture stand five minutes to let the flavours mingle, then sprinkle with the nutmeg before serving.